If you never used a custom theme before and don't know how to install one in your blog, in this tutorial I come to explain how to get and install my Tumblr themes the correct way.
Step by step:
1) Go to my Resources Page, chose a theme and click on its "Download/Install" button:

2) You'll be taken to the theme's post where you can read its description and, at the end of the post, you'll find a "Donwload" or "Purchase" (if it's a Premium theme) button, click over this button.
3) Then:
A) If it is a free theme: you'll be taken directly to a page with the code of the theme (at this point, make sure that you got no automatic corrector or translator turned on in your browser so that it won't modify the HTML of the theme);
B) If it is a Premium theme: you'll be taken to a page where you can purchase it, and after the confirmation of the purchase you'll be able to download a file with the code of the theme in it.
4) Select and copy the full code, that means, from "<!--" to "</html>".
Tip: press CTRL+A to select everything, CTRL+C to copy and CTRL+V to paste.
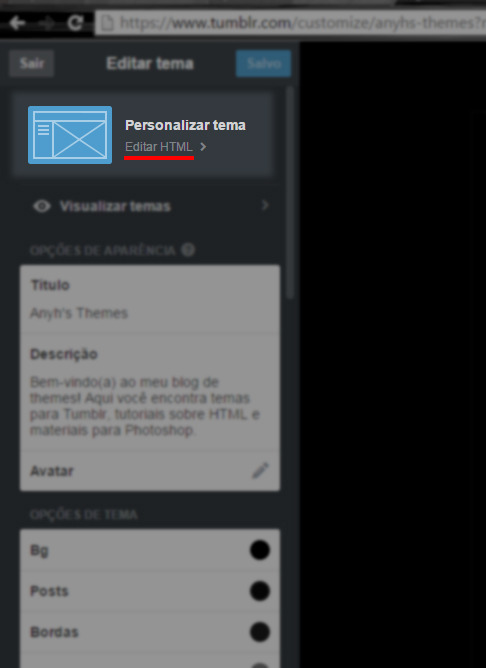
5) Go to the Customize of the blog where you wish to use the theme, and click on "Edit HTML" to open its HTML editor:

Tip: if you'd prefer to try the theme before installing it in your public blog, you can create a secondary blog to test the theme in it first.
6) Select all of your current code and erase it leaving the HTML of your blog entirely empty, so then you can paste in its place the code of the new theme you just copied.
7) Customize your theme according to your preferences (check here a guide on how to customize my themes), save it and you're done.
Tip: if later you regret the modifications you mage, you can go back to past modifications through this Tumblr tool.
